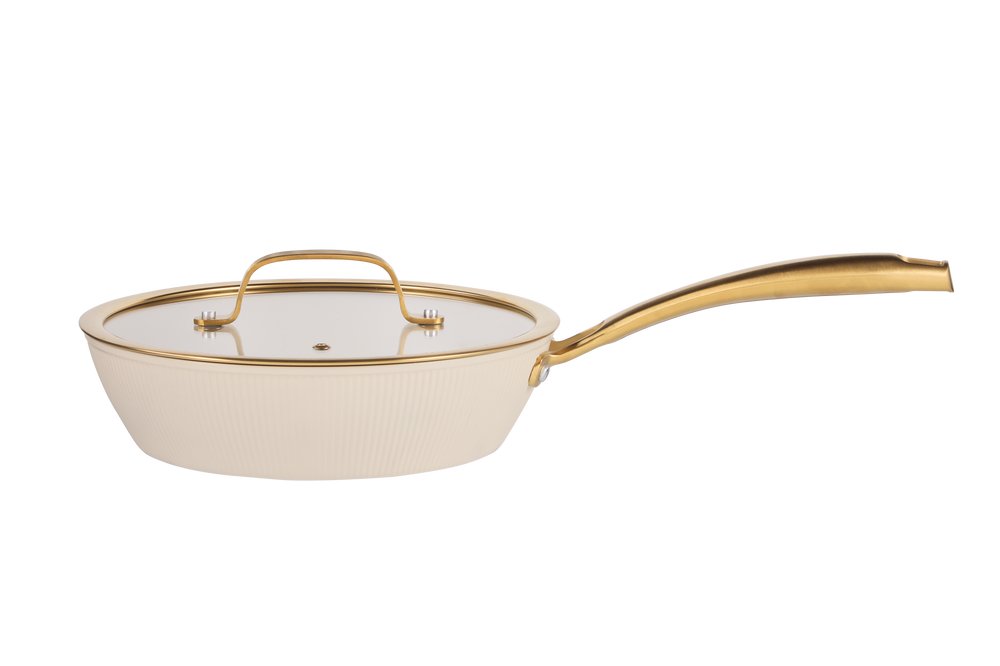
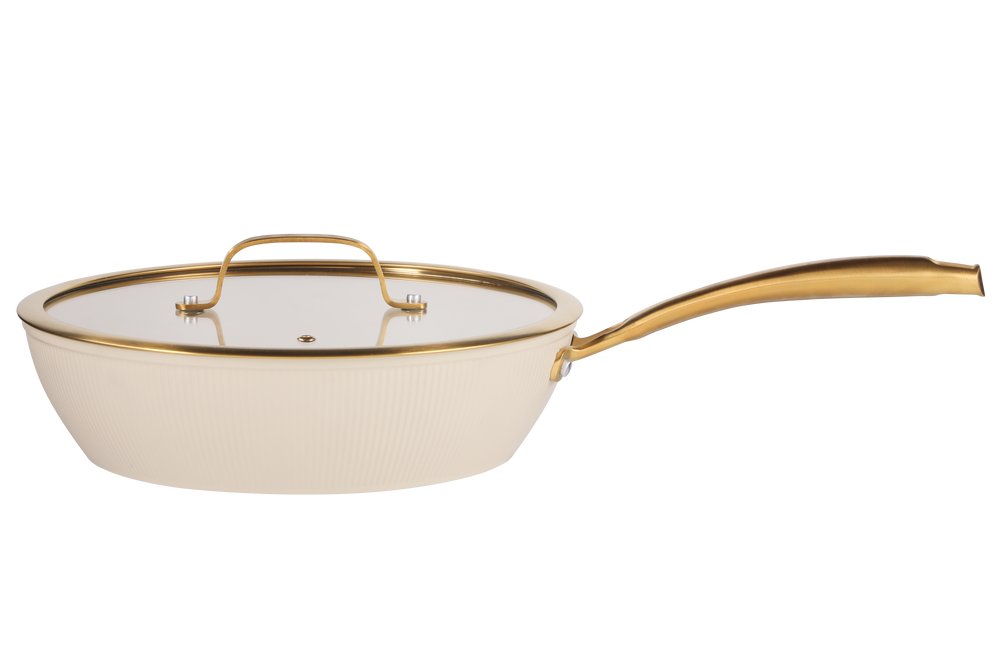
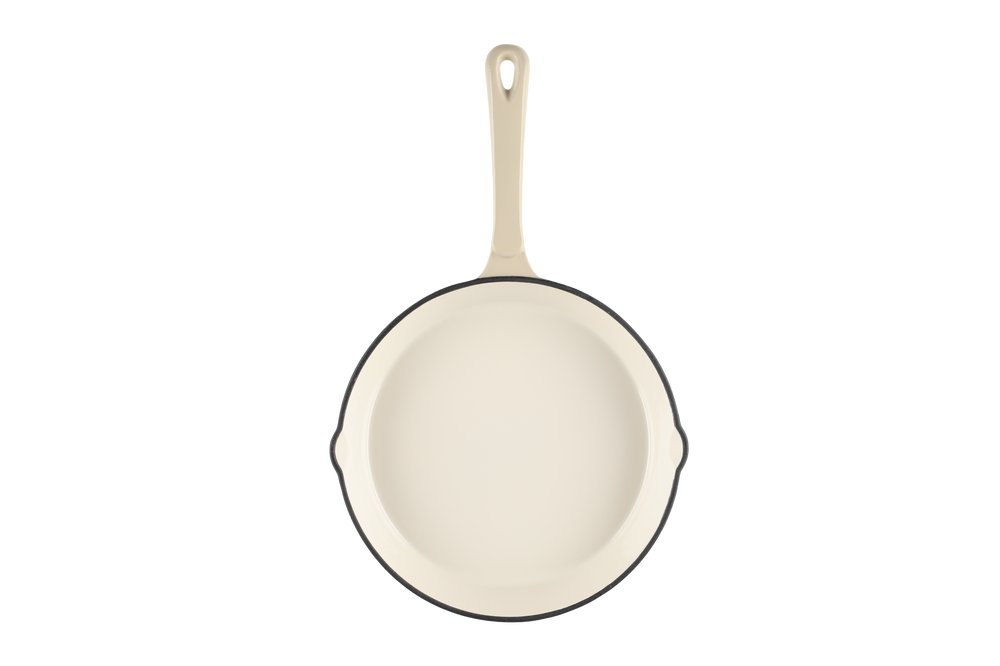
Fry pan beige
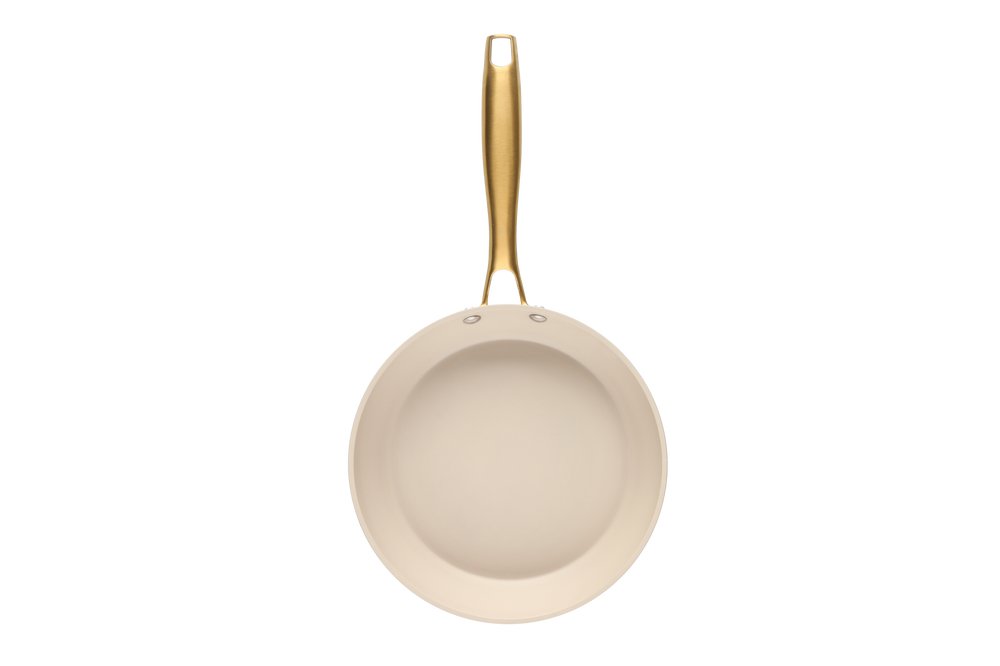
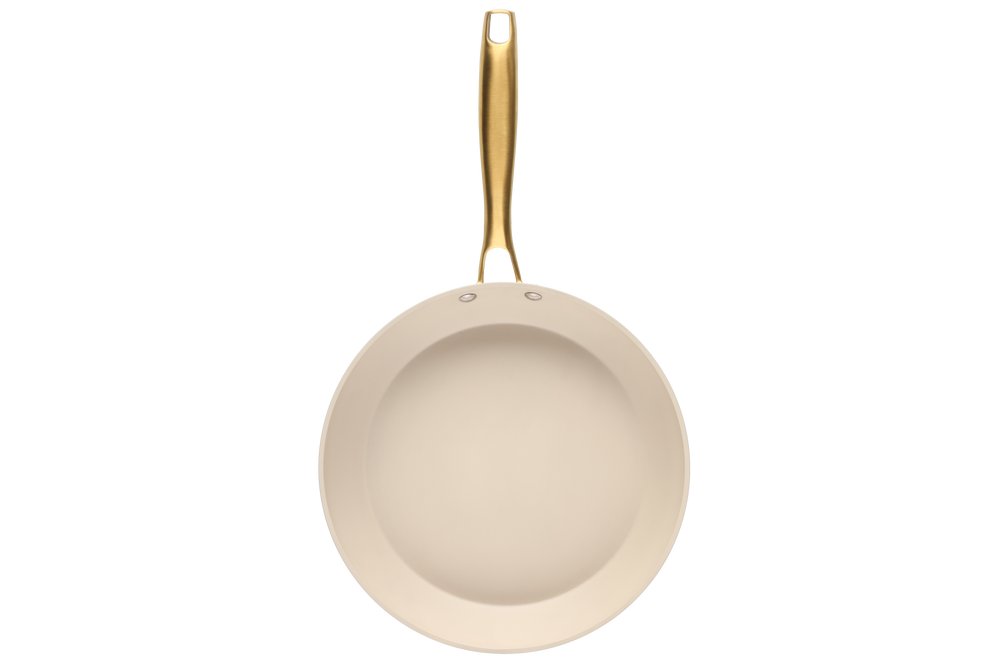
Gastro Plus - ceramic
Foodie

Fusion
Fry pan purple
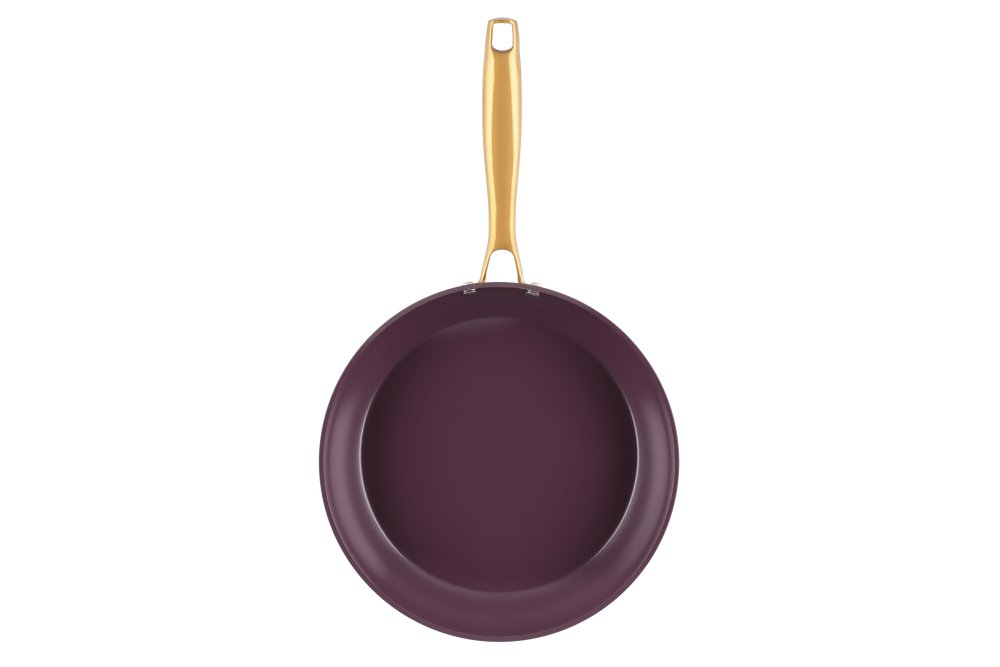
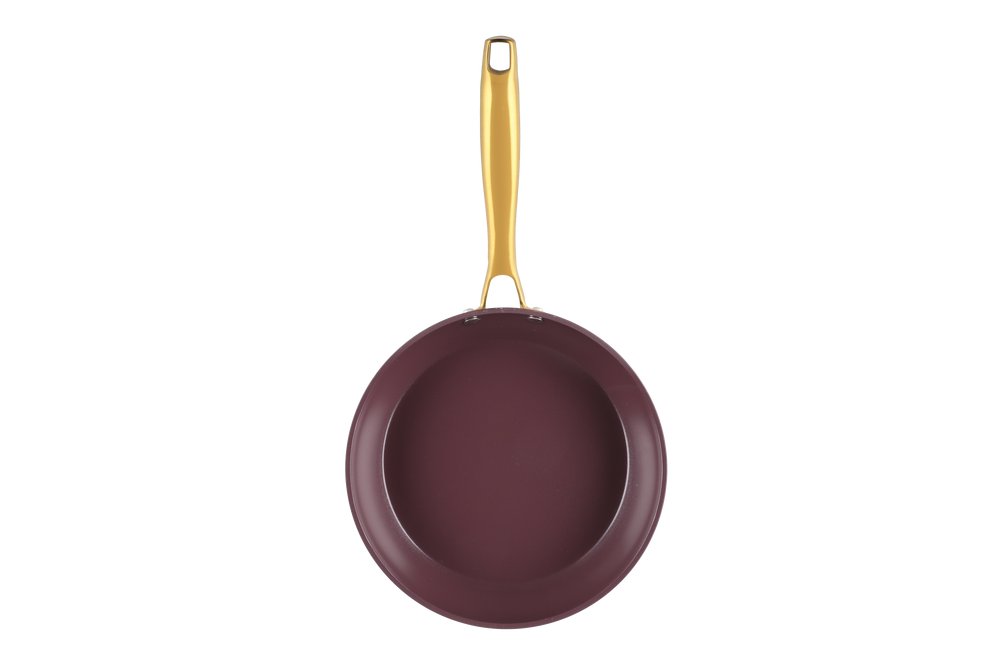
Ease - ceramic
Patron
Graphene


Robuste
Basic

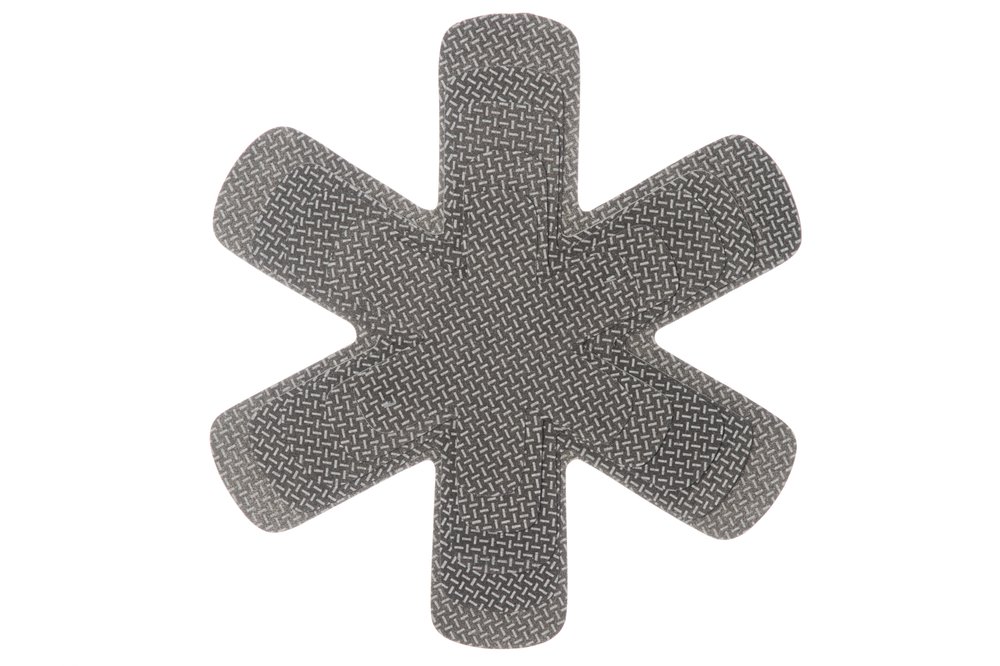
Pan protector
Gastro Plus

Gastro
Ease
Cast iron pan beige
Ironlite

Cast iron pans with wooden handle
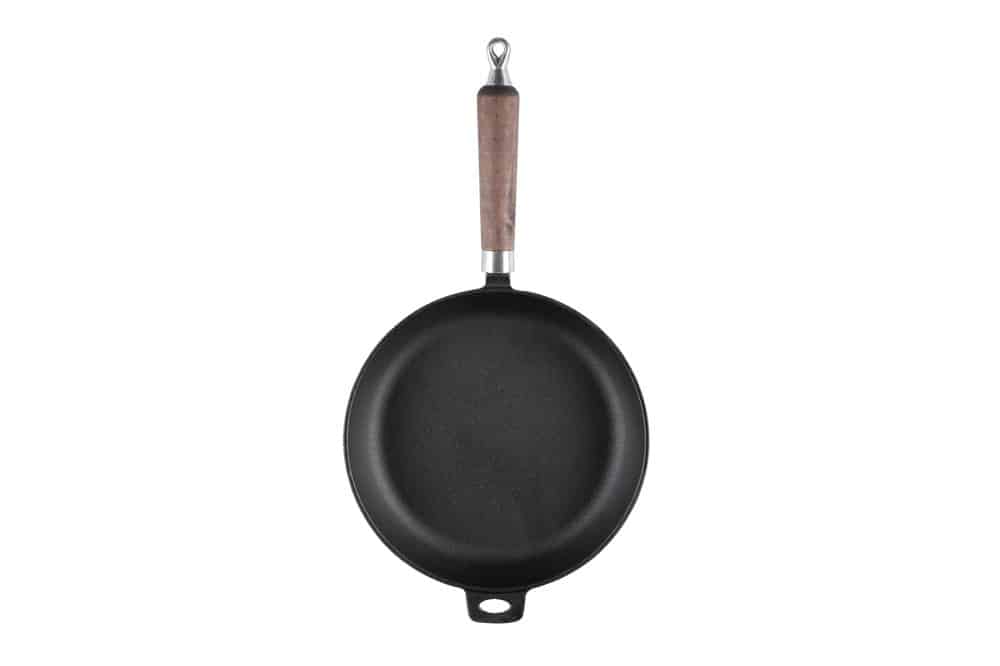
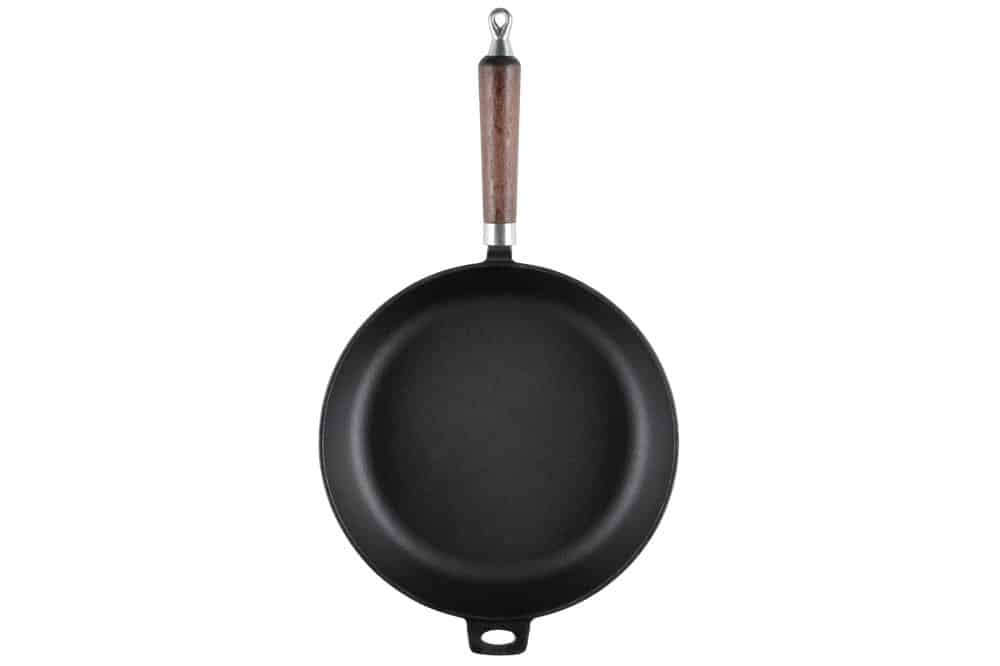
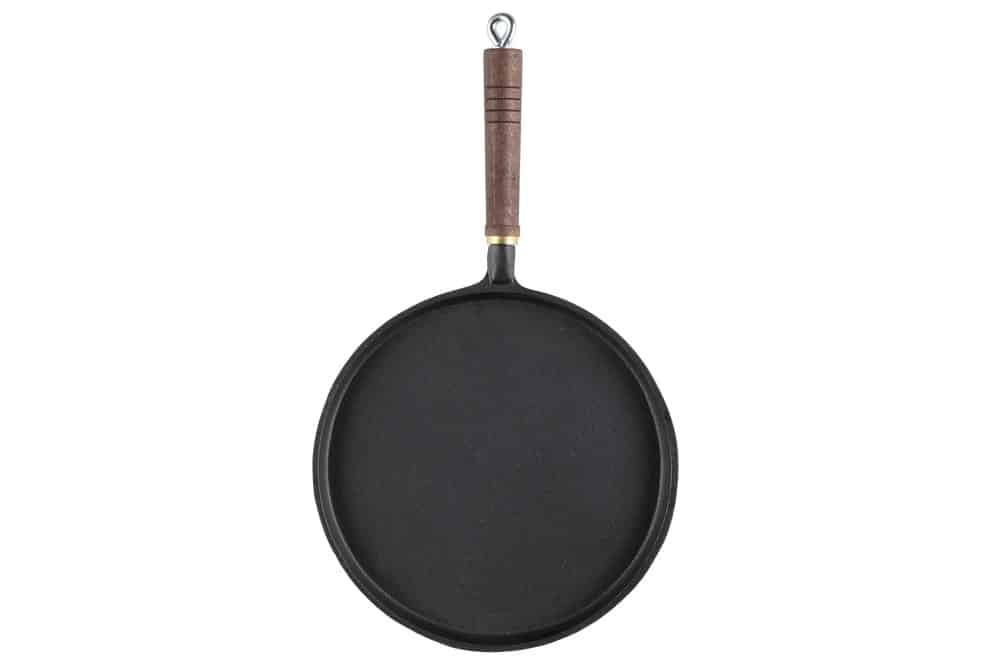
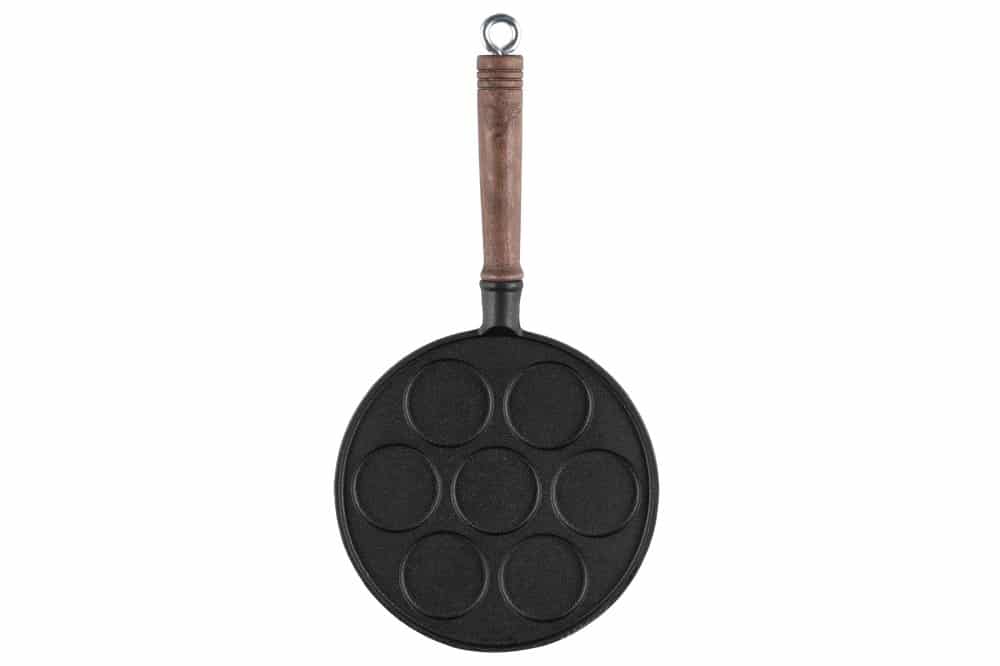
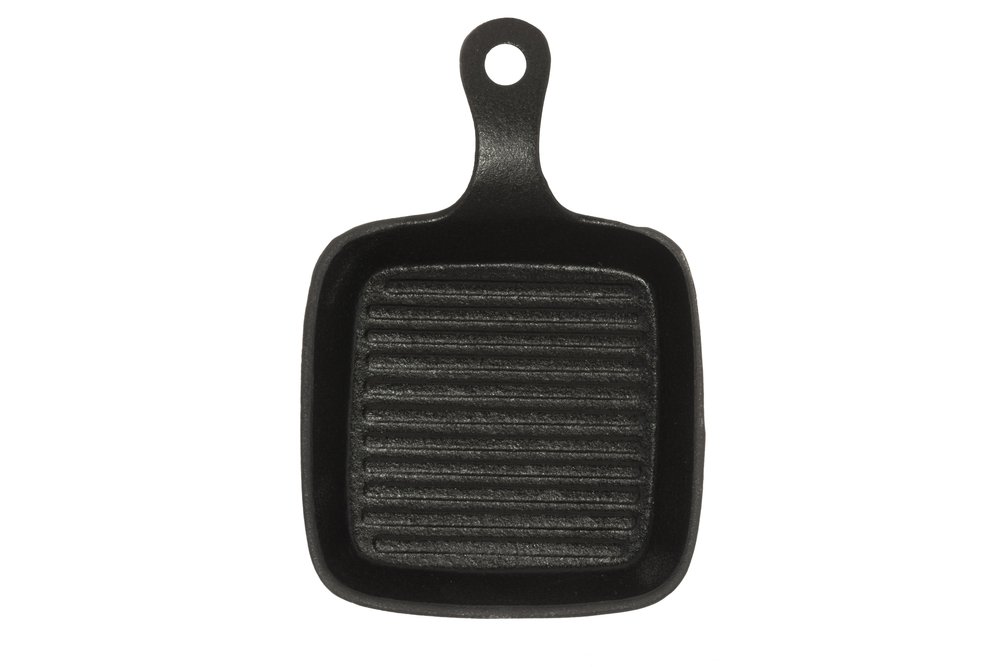
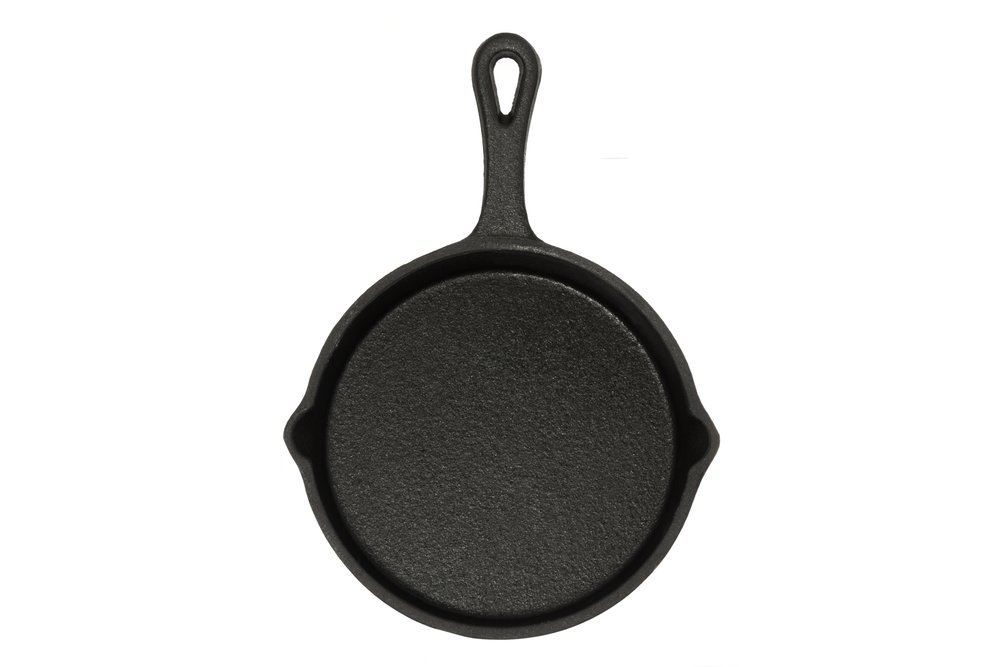
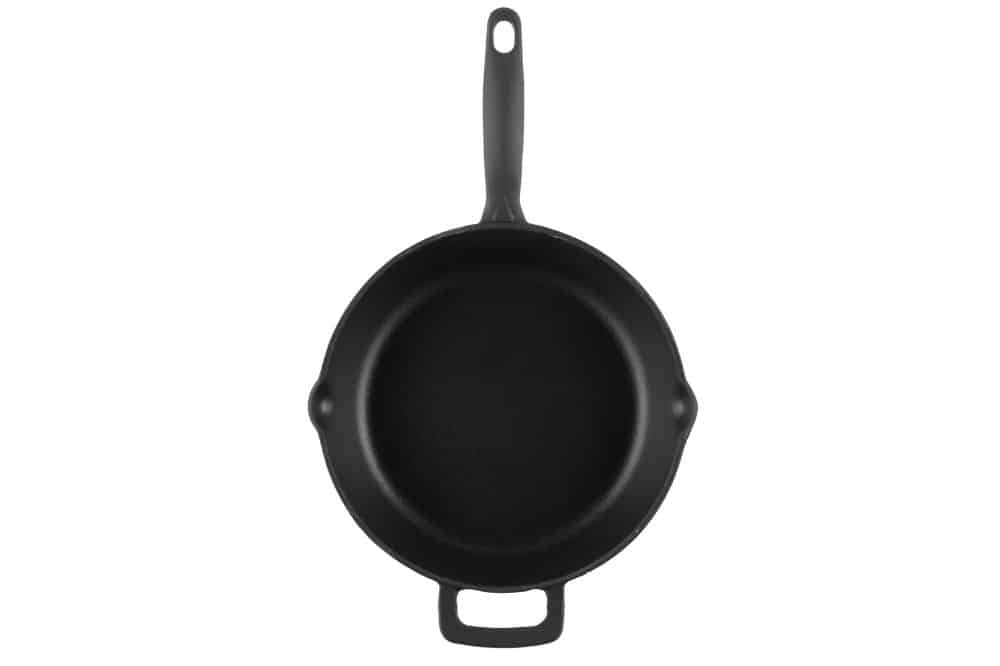
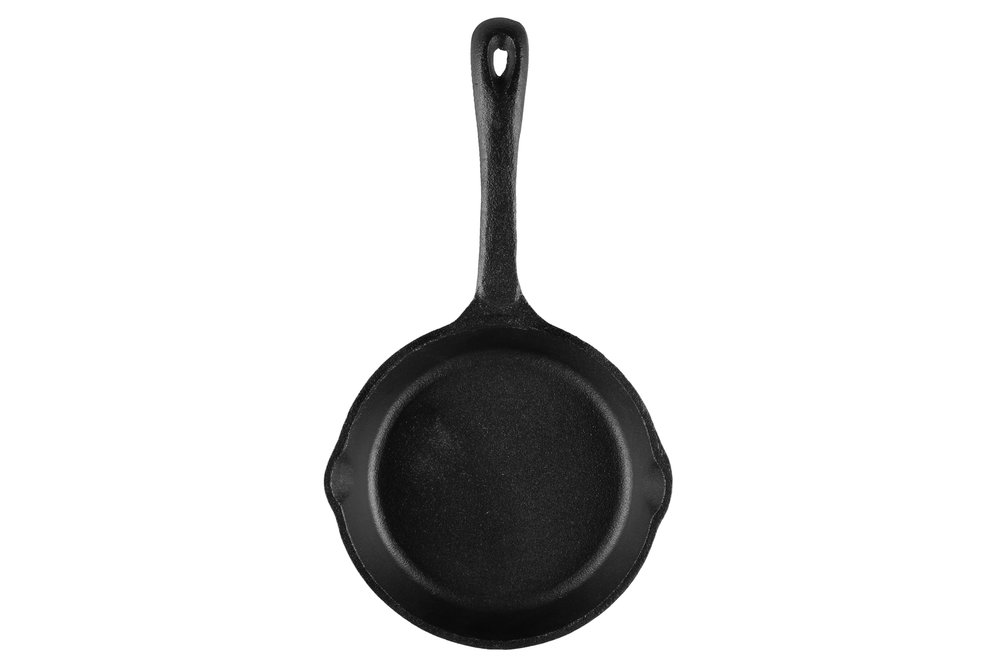
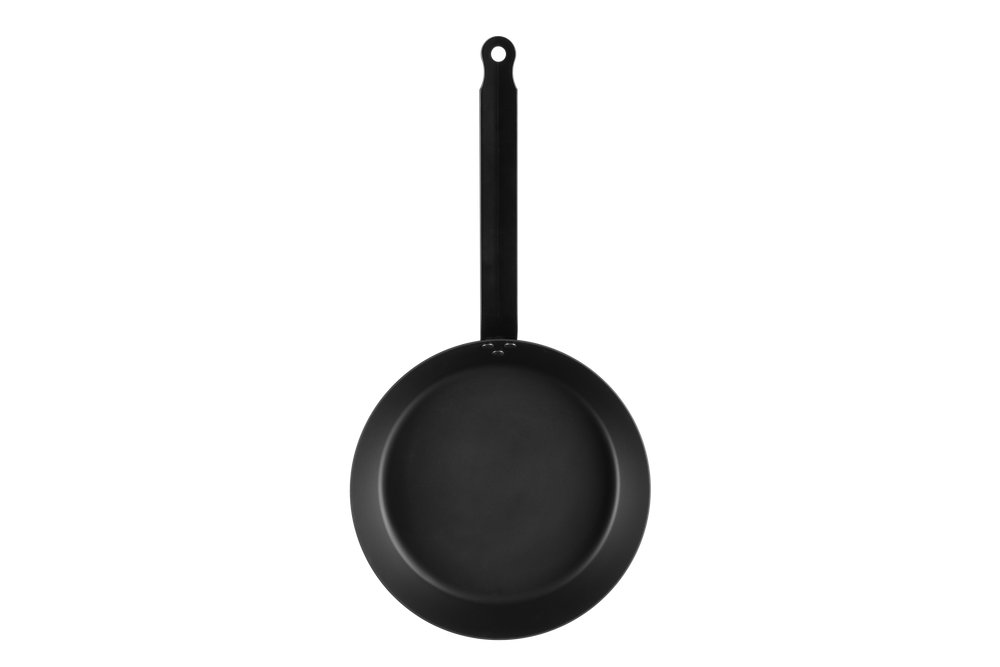
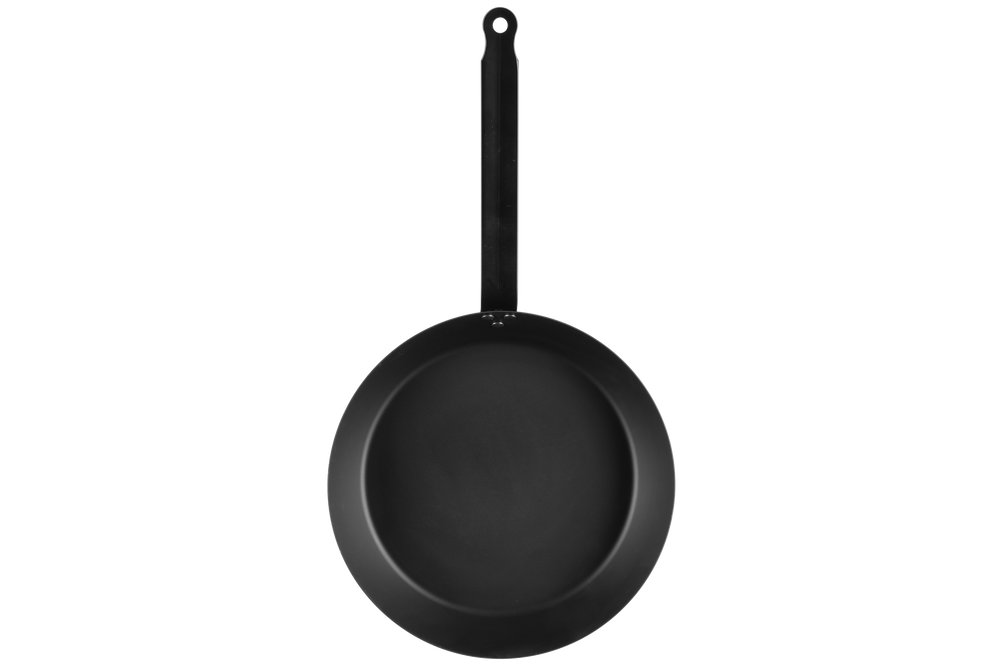
Cast iron pans